 If you recall my initial blog with this table, I sanded the entire piece and then stained the table top a wonderfully rich walnut hue. After that I painted the rest of the table in Bakery Box White. I love this white, but unfortunately it wasn't working for this bulky side table. It was way too bright.
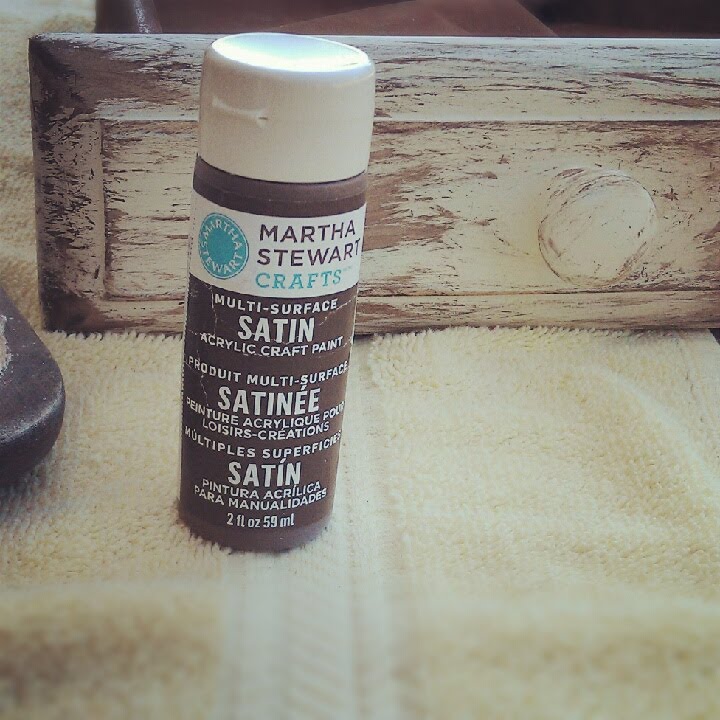 I then decided to take my Martha Stewart Multi-Surface Satin Acrylic Paint in Vanilla Bean and apply it to the legs with a DRY paintbrush. The absolute BEST brown hue to apply for manipulating a weathered look, and by using a dry brush it gives the effect of scratches and general shabby wear-and-tear. I let the table dry for a day, and then applied another coat of the Bakery Box White. Once again it looked like this table could glow-in-the-dark. I found myself sanding the table with a fine-grit sandpaper. Not to take the paint entirely off, but to try and dull down the white and let the Vanilla Bean pull through.


 |
| After Vanilla Bean & Bakery Box White Coat |
After a few days and many paint trials, I finally found my perfect white hue: Martha Stewart's Gull. This is a warmer white that paired nicely with the walnut-top finish. After coating the table with the Gull, I still felt that it was just too much white. The legs of the table are so solid and bulky! Again I found myself dry-brushing the Vanilla Bean onto the legs, and then wiping the wet paint with a rag. This gave the table dimension, it broke the Gull up nicely. After I gave the table a few days to dry, I used a fine-grit sand paper to soften up the Vanilla Bean smears. I still was unsatisfied.
 |
| After Vanilla Bean & 2:1 Gull Mixture |
 |
| After Applying & Wiping Walnut Stain |
Of course I could have stopped there, but I decided to try another new application. I took the walnut stained and applied it to the legs. I immediately wiped the stain with a rag as soon as I applied it. By doing so, this takes a majority of the stain off and leaves you with a lighter stain.
 |
| After Applying & Wiping Walnut Stain |
 I let the table dry for for a day, and then I decided to apply the 2:1 paint/water mixture on the table again. I let the table dry for a few more days before I did a final sand. I used a fine-grit sandpaper for the table top and the legs. FINALLY. The table was finished!
One of the perks of creating shabby pieces is that you can never really mess up a project. Don't hesitate with trying a new process or application. Keep in mind that if you are unsatisfied with a color or stain you can always sand and start again!


No comments:
Post a Comment